How to configure radio mode, channel, and power level of an access point
Press play to listen to the article.
The security, performance, and reliability of a wireless network depend on a variety of factors. Learn in this post how to configure radio mode, channel, and power level of an access point, essential functions to consider when setting and deploying networks. We recommend taking particular care of these settings for a successful network deployment.
- 1. How to configure radio mode
- 1.1. Setting the antenna type to configure the radio mode
- 2. How to configure Channel
- 2.1. Setting the channel width
- 3. How to configure transmission power
- 3.1. Setting the maximum transmission power
- 3.2. Setting the maximum number of clients that can connect to an access point
- 4. Radio mode in the Tanaza cloud management platform
- 4.1. Try Tanaza for free
- 5. Related articles:
How to configure radio mode
You can configure the radio in different ways:
- Configure one by one in radio view.
- Assign access points to an access point group and then configure the group’s radios in a group’s radio view.
- Configure all radios in the global configuration view.
The settings applied in these views for the same parameter take effect in decreasing radio view order, an AP group’s radio view, and global configuration view.
Best practices suggest enabling every mode offered by the access point rather than a subset of those modes. All devices, including older devices, can later connect using the fastest radio mode they support. This procedure also helps in reducing interference from neighboring networks and devices.
Setting the antenna type to configure the radio mode
The antenna type setting for an access point must be compatible with the type of antenna used on the access point. The antenna can be integrated on the device and therefore fixed, or it can be external and thus changed if you want to increase the transmission power.
How to configure Channel
A channel is a spectrum of frequencies with a definite bandwidth. WiFi channels are the smaller bands within each WiFi frequency band.
The 2.4 GHz band has 14 channels. The bandwidth for each channel is 20 MHz, and every two channels are spaced 5 MHz apart. Among the 14 channels, four groups of non-overlapping channels exist, and the most commonly used one contains channels 1, 6, and 11.
The 5 GHz band can provide higher rates and is less vulnerable to interference. There are 24 non-overlapping channels assigned to the 5 GHz band. The channels are spaced 20 MHz apart with a bandwidth of 20 MHz. The available channels vary by country, depending on the availability of each country’s regulations.
Each band is divided into multiple, independent communication channels. When channel selection is automatic, your access point selects the best WiFi channel for you. If your AP doesn’t support automatic channel selection, choose whichever channel performs best in your network environment –this varies depending on the WiFi interference in your network environment.
This setting controls which channel your WiFi access point will use to communicate.
It would help if you chose a channel that is free from other WiFi access points and other sources of interference to have stabler performances.
Learn more about how to choose the right channel for your network deployments.
Setting the channel width
Channel width defines how much of a band frequency is available to transfer data. Wider channels are faster but more likely to interfere with other devices. We suggest using 20MHz for the 2.4GHz band. This will help avoid performance and reliability issues, especially near other WiFi networks and 2.4GHz devices.
On the other hand, auto or all channel widths for the 5GHz band guarantees the best performance and compatibility with all devices. Wireless interference doesn’t affect much the 5GHz band.
In any case, it’s better to choose between 20 MHz and 40 MHz. Channel width controls how broad the wireless signal is for transferring data. All those concerns have an impact on the highest speed of your WiFi network.
How to configure transmission power
Transmission power indicates the signal strength of a wireless device. A higher transmit power enables Radio to cover a larger area, but it brings more interference to nearby devices.
Setting the maximum transmission power
The transmit power range supported by radio changes by country code, channel, AP model, radio mode, antenna type, and bandwidth mode. If you modify these characteristics for radio after setting the maximum transmit power, the configured maximum transmit power may be over the supported transmit power range. In case this happens, the system will automatically correct the maximum transmit power to a valid value.
If you enable a power lock, the locked power becomes the maximum transmit power. The transmission power setting specifies the signal’s strength that the access point produces during the space-time it is transmitting. Lowering the transmission power allows reducing interferences when more WiFi devices are close.
Setting the maximum number of clients that can connect to an access point
It would be better to evaluate how many access points are needed for the infrastructure you will implement before designing. Indeed, when the maximum number of clients is reached on an access point, this one will stop accepting new clients to prevent overloading.
Learn more about how to evaluate the maximum number of access points when deploying a WiFi network infrastructure.
Radio mode in the Tanaza cloud management platform
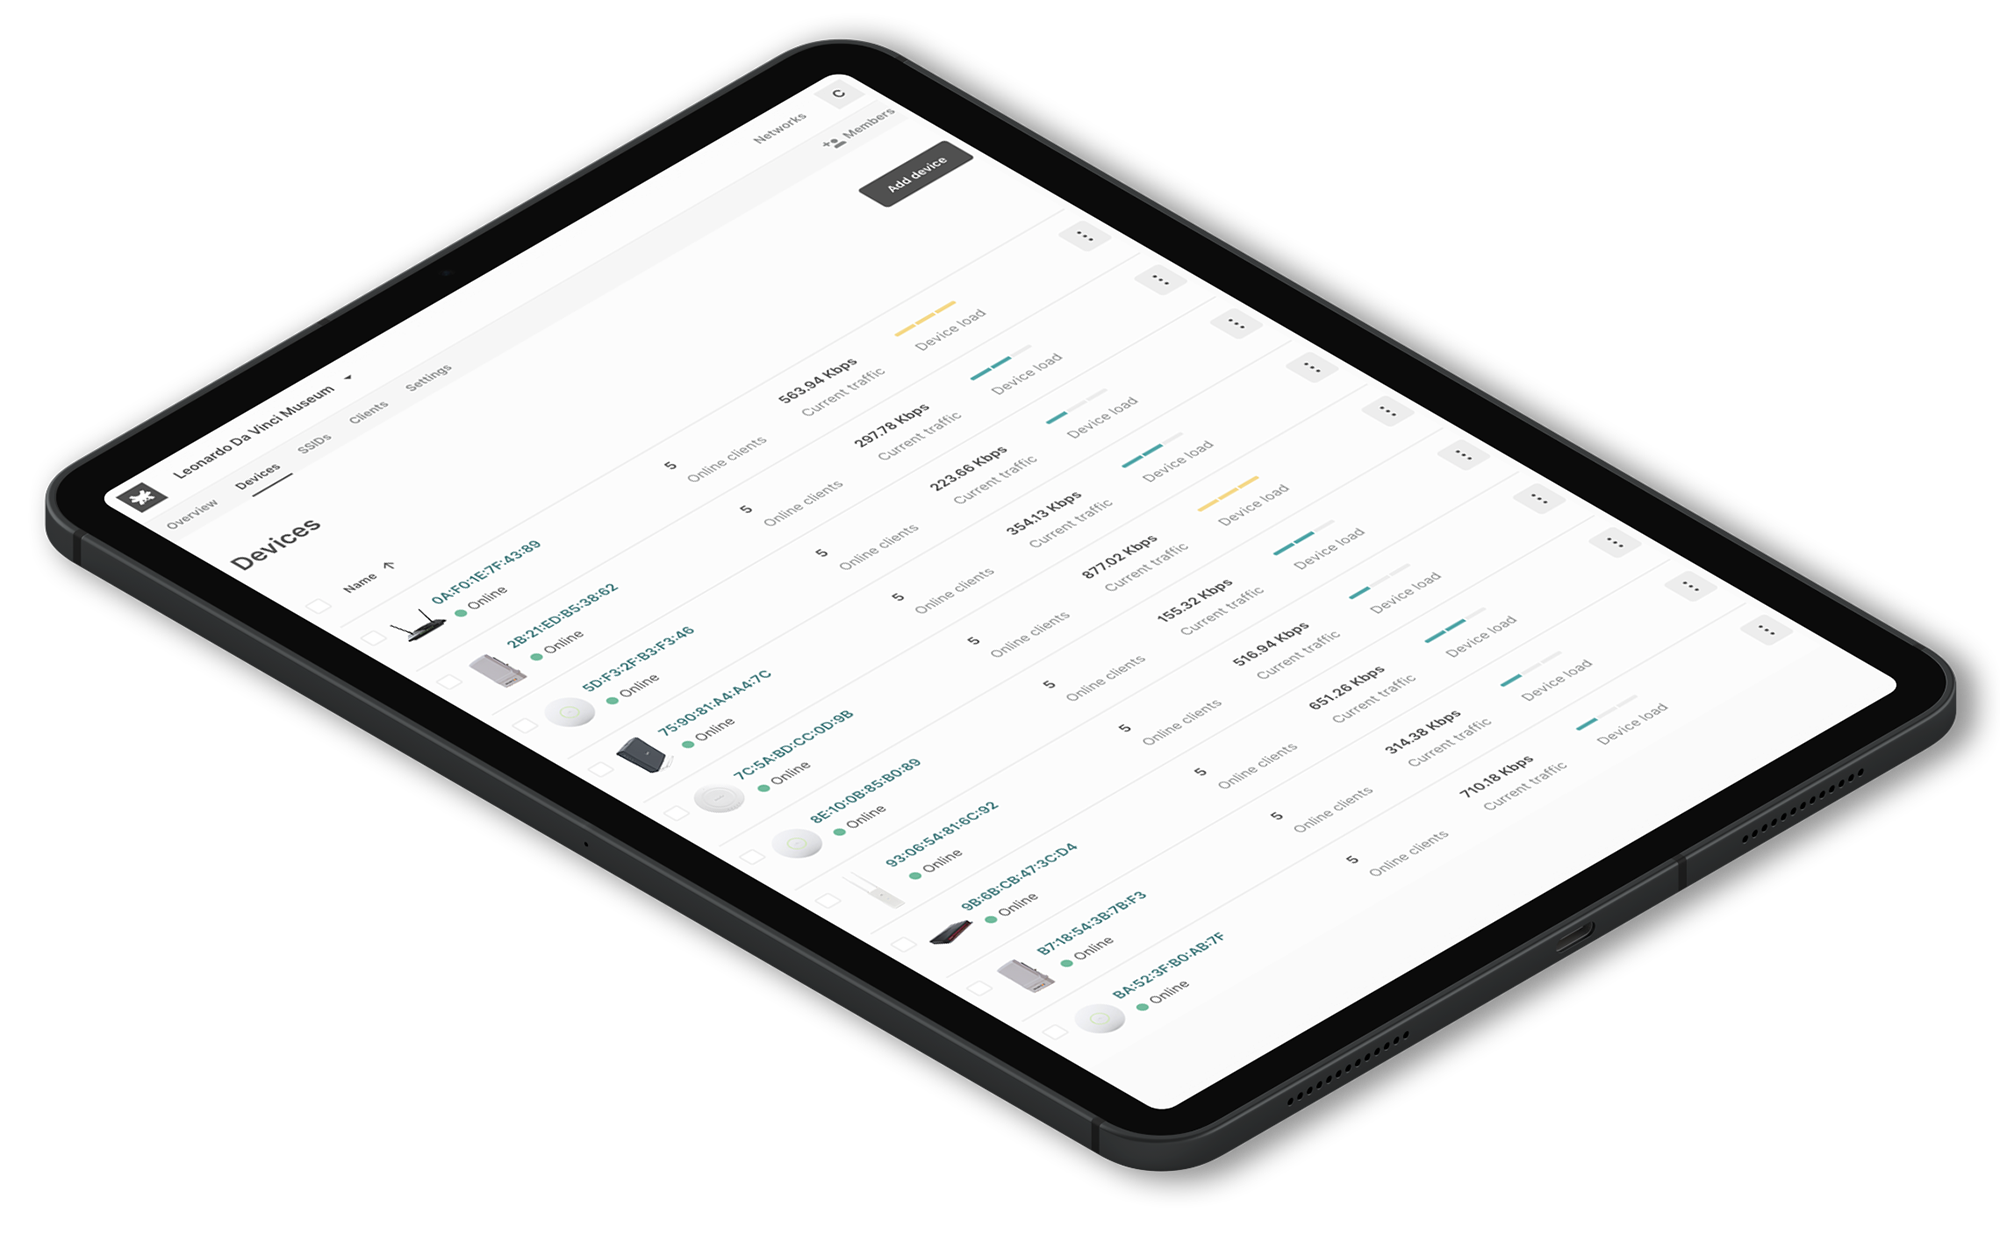
The Tanaza cloud management platform allows users to set access points with the correct radio mode. For all networks created in the Tanaza dashboard, there’s a section called “Devices” where it is possible to configure all the access points related to that specific Network. The radio tab in that section will show the supported frequencies’ current configuration.
All radios are automatically configured in “Auto” mode. In this way, the access points will scan and select the most available channel at that moment for every reboot.
Furthermore, the Tanaza dashboard includes a tool to change the network channel easily. This feature is handy when it comes to overlapping channels. If you set the channel as automatic, the system will consequently find and assign the best channel to your device each time it reboots.
Tanaza allows the setting of different countries to follow local country regulations, including operation within legal frequency channels, output power, and Dynamic Frequency Selection (DFS). The “Country” parameter will configure the access point by enabling only the specific country’s regulation channels.
It will be compliant with them, and there won’t be any risk that it will use channels that end-user devices can’t detect because they are not included in the available ones for that country.
Furthermore, Tanaza enables DHCP (dynamic host configuration protocol). Through this protocol, you can assign IP addresses to devices on your network. Each IP address identifies a device on the network and enables it to communicate with other devices on the network itself and the internet. Your network should have only one DHCP server. If DHCP is enabled on more than one device, address conflicts might prevent some devices from connecting to the internet or using network resources.
Try Tanaza for free
Request a free trial of the Tanaza platform and experience the power of managing WiFi networks from the cloud with Tanaza.

